If you need a little craft to keep everyone busy, try these! I think they give big results with only a small bit of effort or mess.
Decorative Spice Cutouts
These ‘cookies’ are pretty tied to a gift or strung together to make a garland. They smell good too.
You will need applesauce and ground sweet spices, like cinnamon, allspice, cloves. If you have some out-of-date ones hanging round, those would be ideal. Stir together approximately one cup of applesauce and 3/4 cup ground spices. Adjust the ratio of spice to applesauce until you have a stiff dough. Roll thinly and cut into shapes with Christmas cookie cutters. Punch a hole in the top with a narrow straw or skewer if you plan to hang them. Sprinkle dry spice on a tray lined with parchment and arrange the spice cookies to dry. Turn them every twelve hours. They will take a while to dry. Or you can bake them at 150* in the oven for several hours. You can decorate them more with maybe puff paint or whole spices glued on. Use your imagination.
Better Than Salt Dough
I made beads with this dough and strung them on a red ribbon. You could also shape it like clay or roll it out and cut shapes.
In a medium kettle, combine 1 cup baking soda, 1/2 cup cornstarch and 3/4 cup water. Cook and stir over medium heat until the ingredients come together in a ball. Shape as desired. I let the beads dry on a skewer, which also created a hole for the ribbon to go through. You could paint them, or leave them white.
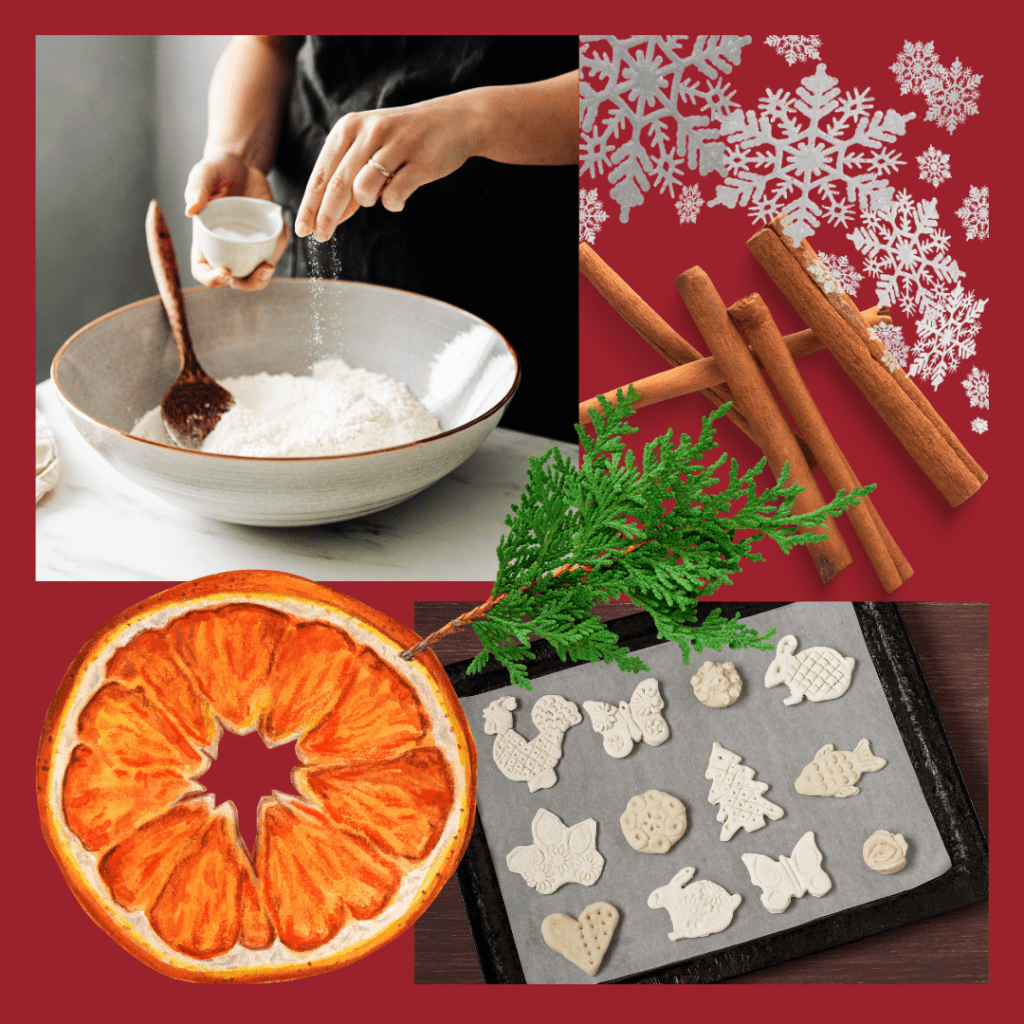
Dried Orange Slices
Dried orange slices are so Christmas-y! I like to use them for filler in a centerpiece but you could also add them to a garland or gift. They keep well for several years.
Slice large oranges thinly. The easiest way to dry is to put them in a dehydrator in a single layer. I find the oranges keep their color better this way. If you don’t have a dehydrator, use your oven. Line a cookie sheet with parchment and arrange orange slices in a single layer. Bake 150-190* 4-6 hours. Check periodically and remove when they are dry and crisp but not browned.
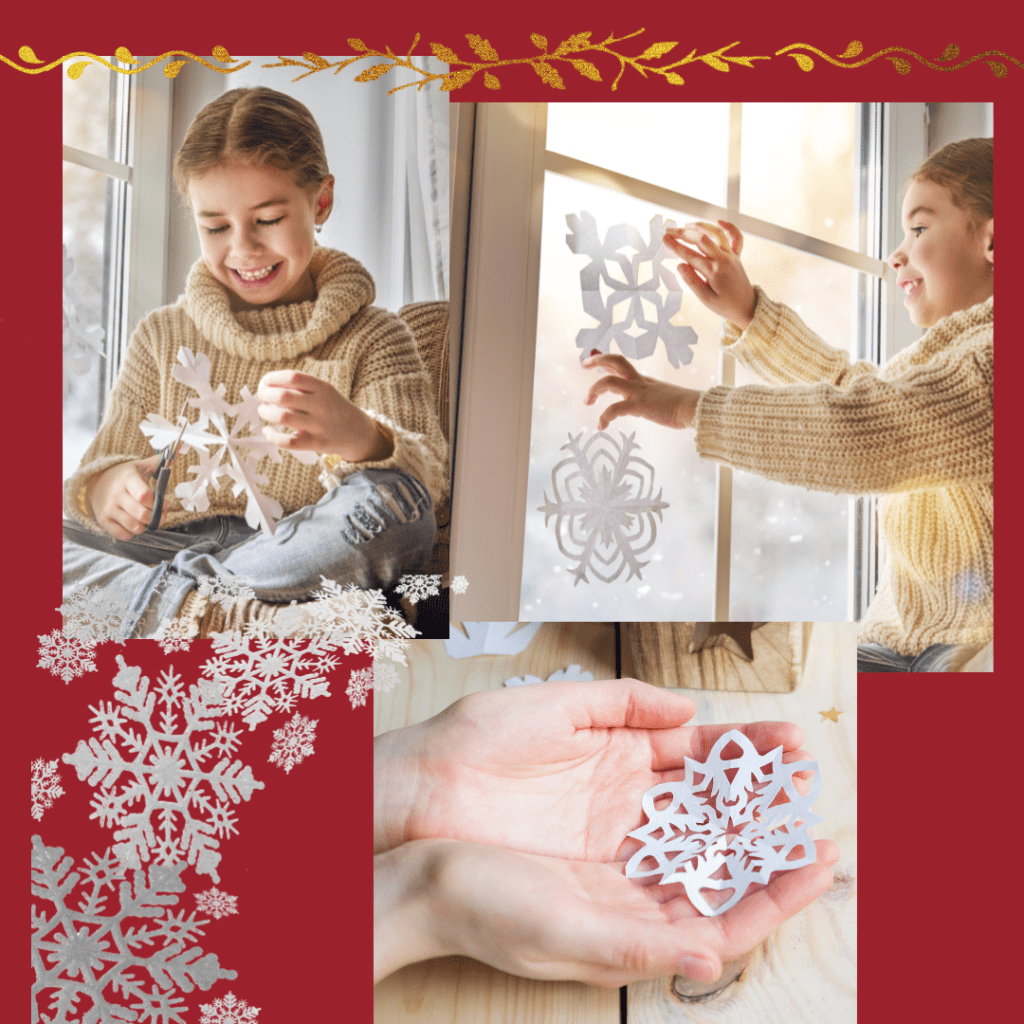
Paper Snowflakes
Paper snowflakes are my favorite! That something so pretty can be made with plain old paper and scissors is magical! I make new paper snowflakes every year.
Make these just like you did back in fourth grade. You only need plain copy paper and sharp scissors. A little help with design is great, but you may be delighted how well your own designs look, too. Keep practicing and you will get better at it. Folding the paper correctly is crucial to your success. You can find directions and patterns here and here. Make the flakes in three sizes for a pleasing display. I also like to cut out small dots for filler between flakes and a swirl design to give a feeling of movement. Put these up on your windows with tiny bits of sticky tac or double-sided tape. Classic!
–Liz
For quiet time after crafting: Christmas Stories
